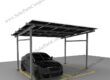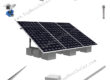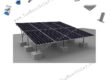
Solar Steel Ground Racking Systems
Installation Site: Ground-Mounted
Material: S350GD-ZM
Tilt Angle: 0° to 60°
PV Module: Framed, Frameless
PV Orientation: Portrait, Landscape
Wind Load: 60 m/s
Snow Load: 3.6 KN/M2
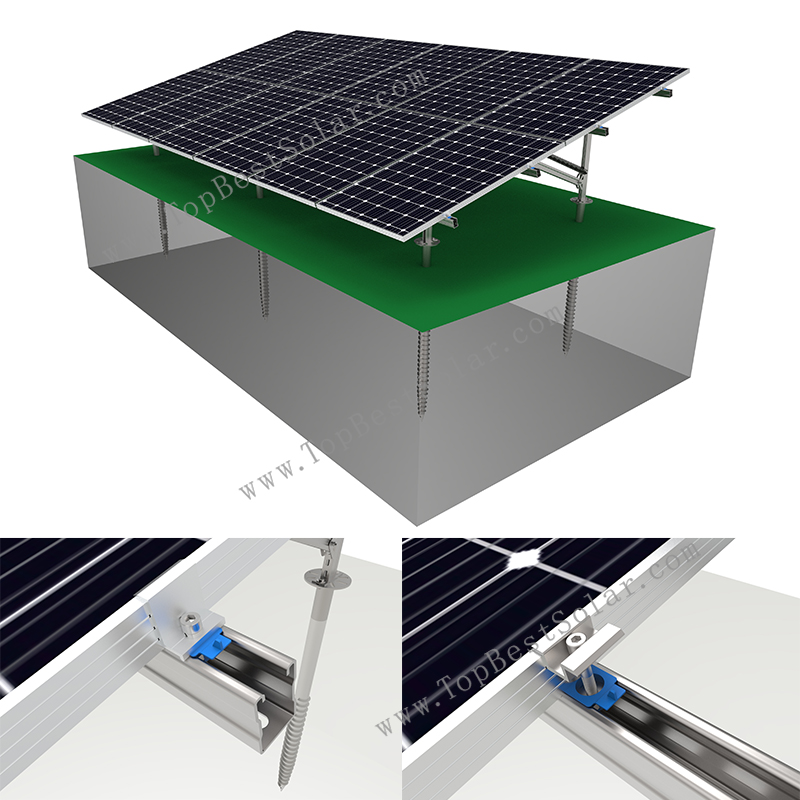
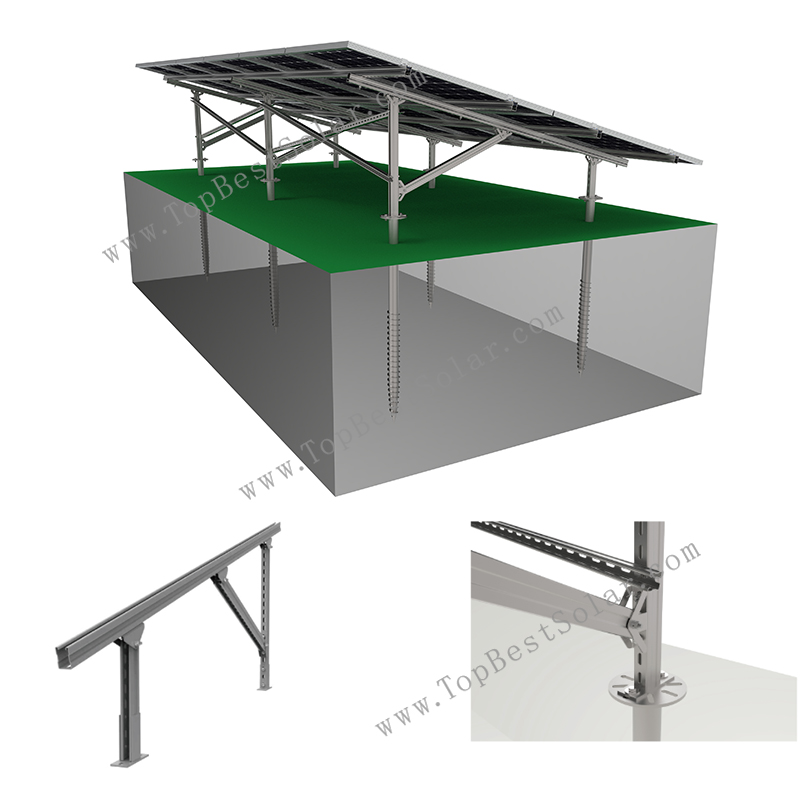
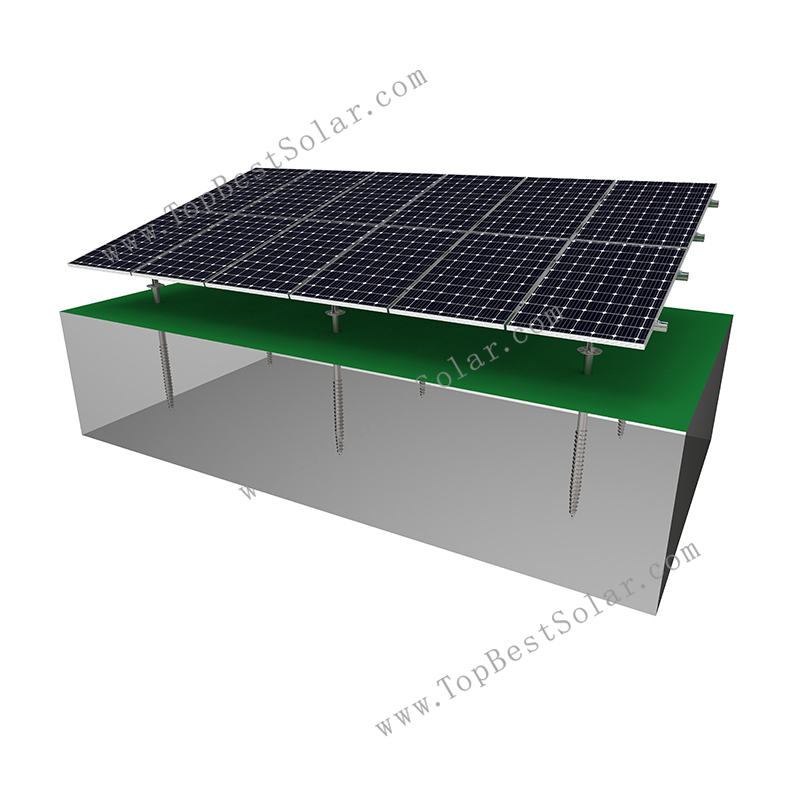
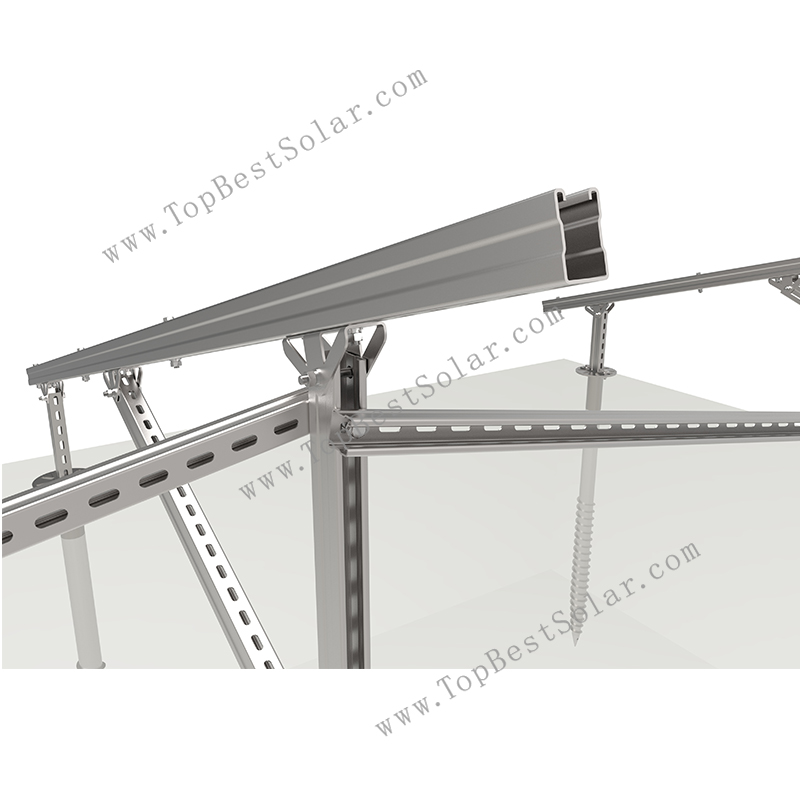
Product Description:
Solar Ground Racking Systems made of zinc-aluminum-magnesium represent a cost-effective solution for solar bracket installation. Its core material is zinc-aluminum-magnesium, which not only endows the system with excellent corrosion resistance but also provides wear resistance and a unique self-healing function. This not only effectively reduces long-term maintenance costs but also enables maintenance-free operation after installation.
Features of Solar Ground Racking Systems :
1) Strong corrosion resistance and high strength.
2) Foundations are optional: grounding screw or cement block.
3) Suitable for solar ground support systems of different designs.
4) Easy installation and great flexibility.
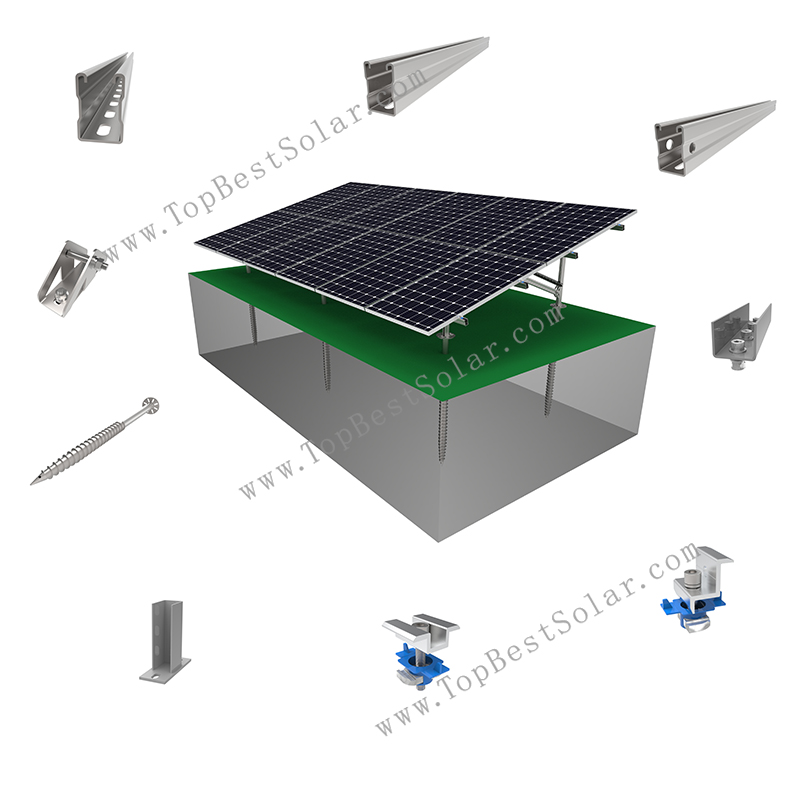
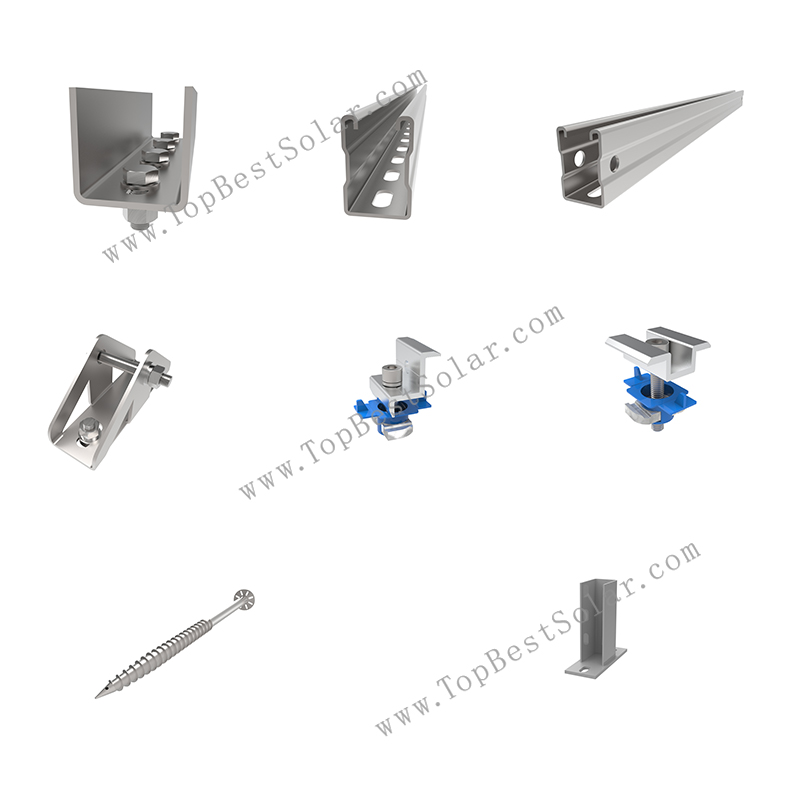
Components of Solar Ground Racking Systems:
1. Base
2. Mid clamp
3. End clamp
4. Beam
5. Rail
6. Rail Connector
7. Bracing
8. Triangular Connector
9. Grounding Screw
Our Solar Ground Racking Systems are pre-assembled before delivery, greatly simplifying on-site installation procedures and improving construction efficiency.
For more details on solar racking system, please visit the website TopBestSolar.com
Proper installation of solar ground racking systems requires the following professional tools to guarantee structural safety and installation accuracy:
T Wrench
Marker Pen
Hand Wrench
Allen Key Wrench
Electric Screwdriver Wrench
Tape Measure
Line of Reference
Pile Driver
Here are the installation steps for solar ground racking systems:
First, secure the triangular connections, bracing, fixed bases, as well as front‑and‑rear foot supports using bolts and nuts.
Next, drive the screw piles with a pile driver, leaving 200 mm of the pile exposed above ground. Use a guide line to ensure accurate alignment for height, front‑to‑back and side‑to‑side positioning.
Once the piles are in place, bolt the pre‑assembled beam kits onto the screw piles.
Then fasten the mounting rails with bolts. Where rail splicing is required, join and secure rail sections with rail connectors.
Fit the bracing components to the rear side of the mounting structure.
Position the mid clamps and end clamps onto the rails.
Lastly, tighten the bolts to secure the solar panels, completing the full installation of solar ground racking systems.
Is on‑site welding required during installation?
Q: Can this Zn‑Al‑Mg ground rack be used in coastal salty‑air environment?
A: Yes. S350GD‑ZM zinc‑aluminum‑magnesium coating delivers strong anti‑corrosion performance for coastal projects, thanks to its self‑healing property at cut edges.
Q: What soil types fit ground‑screw foundation? What if my site has rock?
A: Ground screws work for normal soil, clay and sand. For rocky ground, concrete block foundation is recommended as alternative.
Q: Is on‑site welding required during installation?
A: No welding required on‑site. All connections are bolted connections to protect anti‑corrosion coating.
- Description
-
Product Description:
Solar Ground Racking Systems made of zinc-aluminum-magnesium represent a cost-effective solution for solar bracket installation. Its core material is zinc-aluminum-magnesium, which not only endows the system with excellent corrosion resistance but also provides wear resistance and a unique self-healing function. This not only effectively reduces long-term maintenance costs but also enables maintenance-free operation after installation.
Features of Solar Ground Racking Systems :
1) Strong corrosion resistance and high strength.
2) Foundations are optional: grounding screw or cement block.
3) Suitable for solar ground support systems of different designs.
4) Easy installation and great flexibility.
Components of Solar Ground Racking Systems:
1. Base
2. Mid clamp
3. End clamp
4. Beam
5. Rail
6. Rail Connector
7. Bracing
8. Triangular Connector
9. Grounding ScrewOur Solar Ground Racking Systems are pre-assembled before delivery, greatly simplifying on-site installation procedures and improving construction efficiency.
For more details on solar racking system, please visit the website TopBestSolar.com
- Installation Instruction
-
Proper installation of solar ground racking systems requires the following professional tools to guarantee structural safety and installation accuracy:
T Wrench
Marker Pen
Hand Wrench
Allen Key Wrench
Electric Screwdriver Wrench
Tape Measure
Line of Reference
Pile Driver
Here are the installation steps for solar ground racking systems:
First, secure the triangular connections, bracing, fixed bases, as well as front‑and‑rear foot supports using bolts and nuts.
Next, drive the screw piles with a pile driver, leaving 200 mm of the pile exposed above ground. Use a guide line to ensure accurate alignment for height, front‑to‑back and side‑to‑side positioning.
Once the piles are in place, bolt the pre‑assembled beam kits onto the screw piles.
Then fasten the mounting rails with bolts. Where rail splicing is required, join and secure rail sections with rail connectors.
Fit the bracing components to the rear side of the mounting structure.
Position the mid clamps and end clamps onto the rails.
Lastly, tighten the bolts to secure the solar panels, completing the full installation of solar ground racking systems.
- FAQ
-
Is on‑site welding required during installation?
Q: Can this Zn‑Al‑Mg ground rack be used in coastal salty‑air environment?
A: Yes. S350GD‑ZM zinc‑aluminum‑magnesium coating delivers strong anti‑corrosion performance for coastal projects, thanks to its self‑healing property at cut edges.Q: What soil types fit ground‑screw foundation? What if my site has rock?
A: Ground screws work for normal soil, clay and sand. For rocky ground, concrete block foundation is recommended as alternative.Q: Is on‑site welding required during installation?
A: No welding required on‑site. All connections are bolted connections to protect anti‑corrosion coating. - Leave Message
-