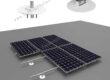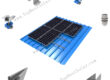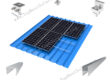
Solar Z Racking System
Model: TBS- RM-Z
Installation Site: Metal Roof
Material: Stainless Steel, Aluminum, Q235, S350-ZM
Tilt Angle: Parallel to the roof
PV Module: Framed, Frameless
PV Orientation: Portrait, Landscape
Wind Load: 60 m/s
Snow Load: 1.4 KN/M2
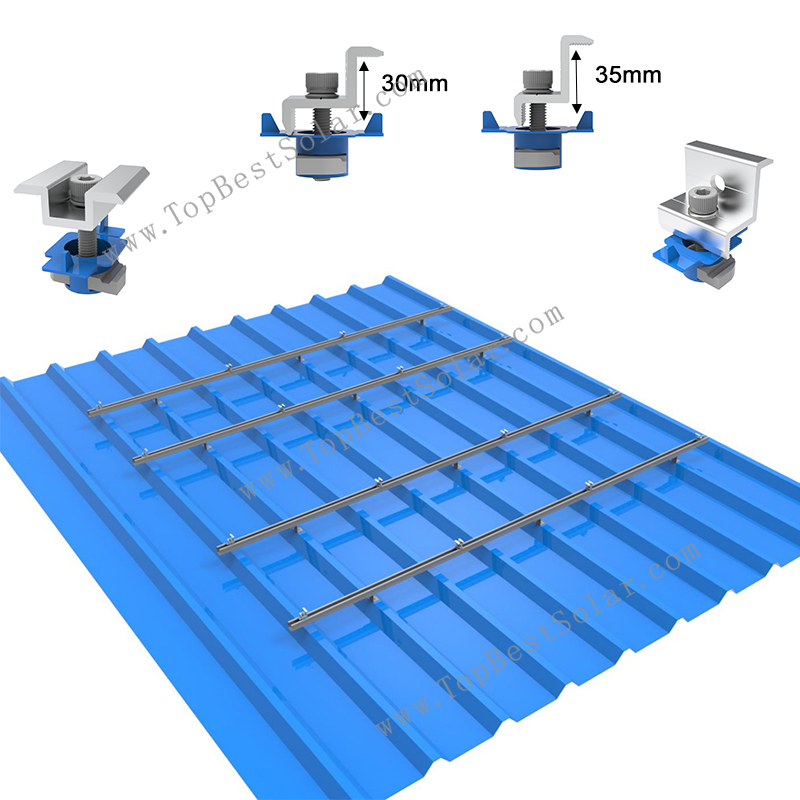
Product Description:
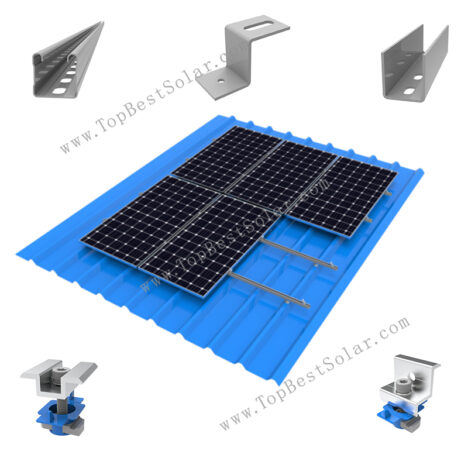
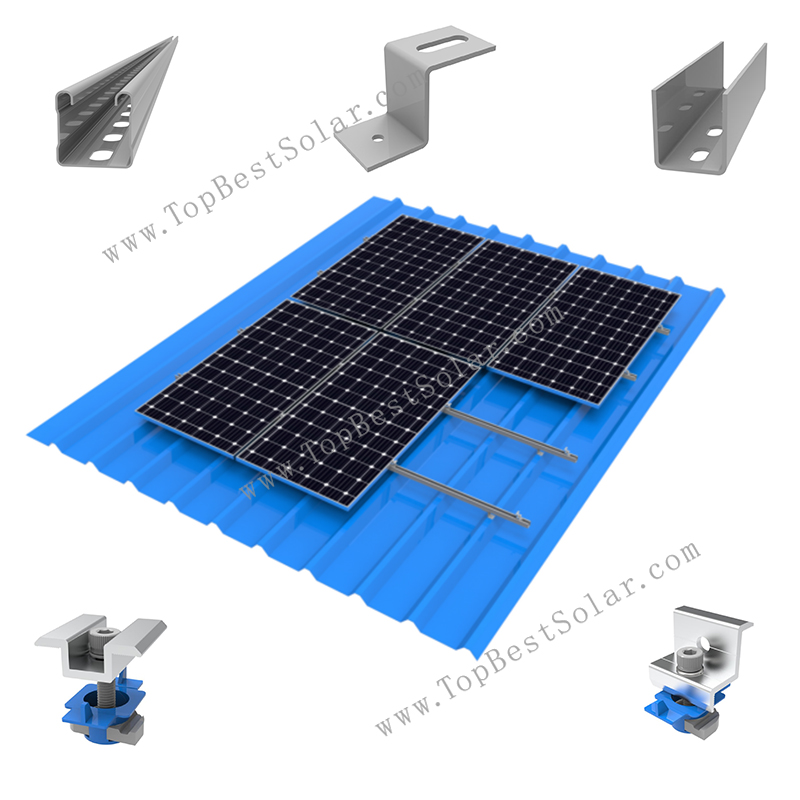
Our Z solar racking for metal roof is a universal, cost-effective, and durable mounting solution specially engineered for trapezoidal metal rooftop solar installations.
Advantages of Z solar racking for metal roof:
1) Easy to install on trapezoidal metal roof, save time and reduce costs.
2) Compatible with all standard solar modules.
3) The steel material has excellent anti-corrosion properties and a long service life.
Components of Z solar racking for metal roof:
1. Z Bracket >>solar-panel-mounting-bracket-z-bracket
2. Mid clamp
3. Dual-use End Clamp (It can be applied to solar panels with a thickness of 30mm and 35mm)>>solar-end-clamp-dual-purpose-30-35mm
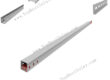
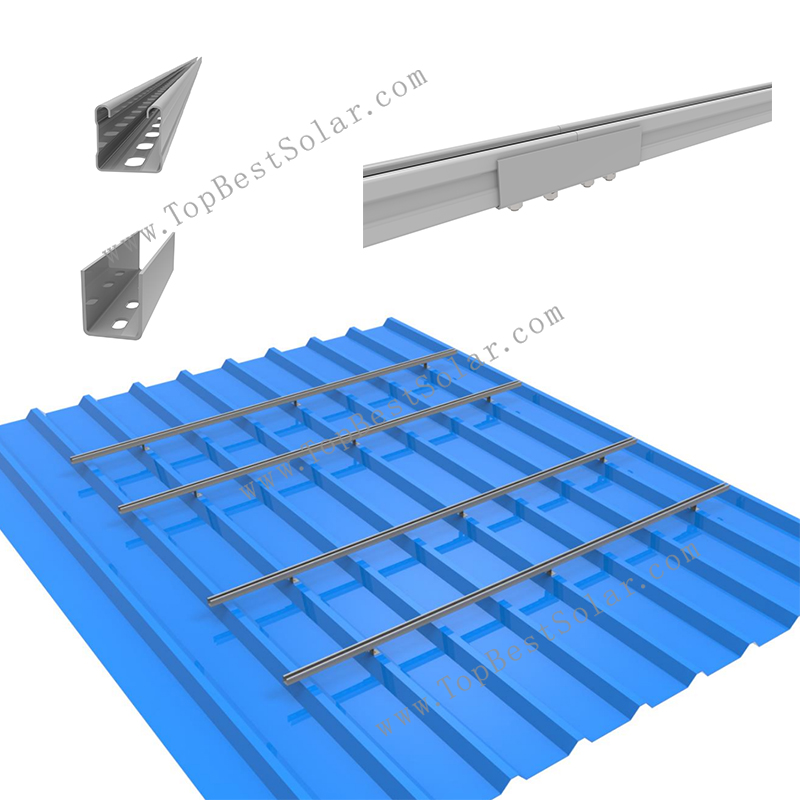
4. U Rail
5. Rail Connector
6. Bolts and Nuts
This Z bracket mounting kit simplifies residential, commercial, and large scale solar panel installation, perfectly compatible with trapezoidal metal roofs. It serves as an ideal flush-mount solar racking accessory for all standard solar panels, delivering stable, leak-proof, and long-lasting rooftop solar fixation performance.
Welcome to visit our website to learn more details>>topbestsolar.com
Marker Pen
Wrench
Allen Key Wrench
Electric Screwdriver Wrench
Tape Measure
Line of Reference
Cutting Machine
Laser Rangefinder
Here are the installation steps for Solar Racking for Metal Roof – Z Racking System:
1. Pre-assembled mid clamp and end clamp.
The end clamp has two holes, which can be used to install two different height panels (30 mm and 35 mm)
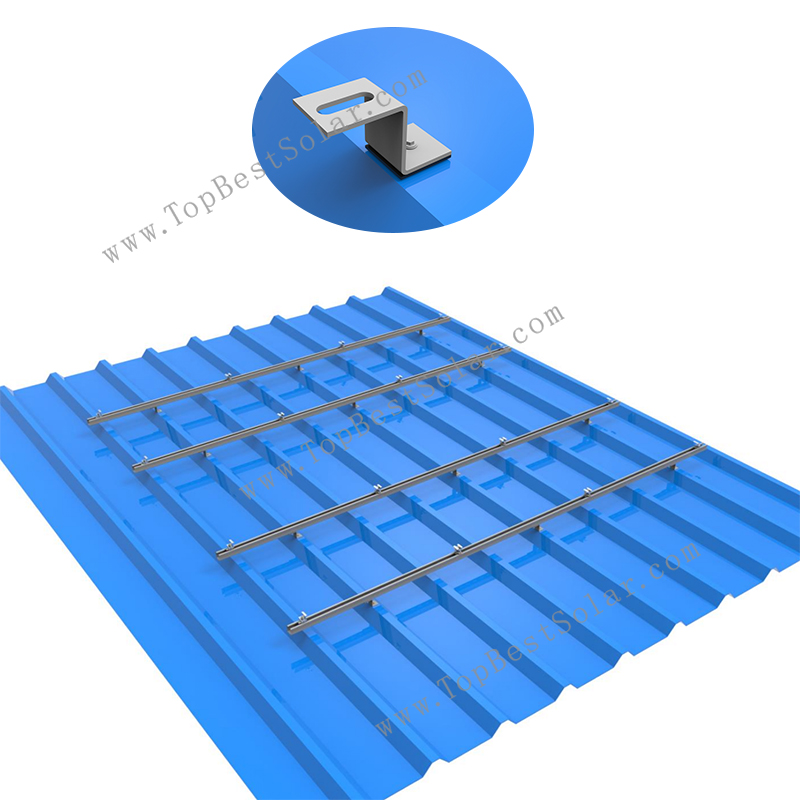
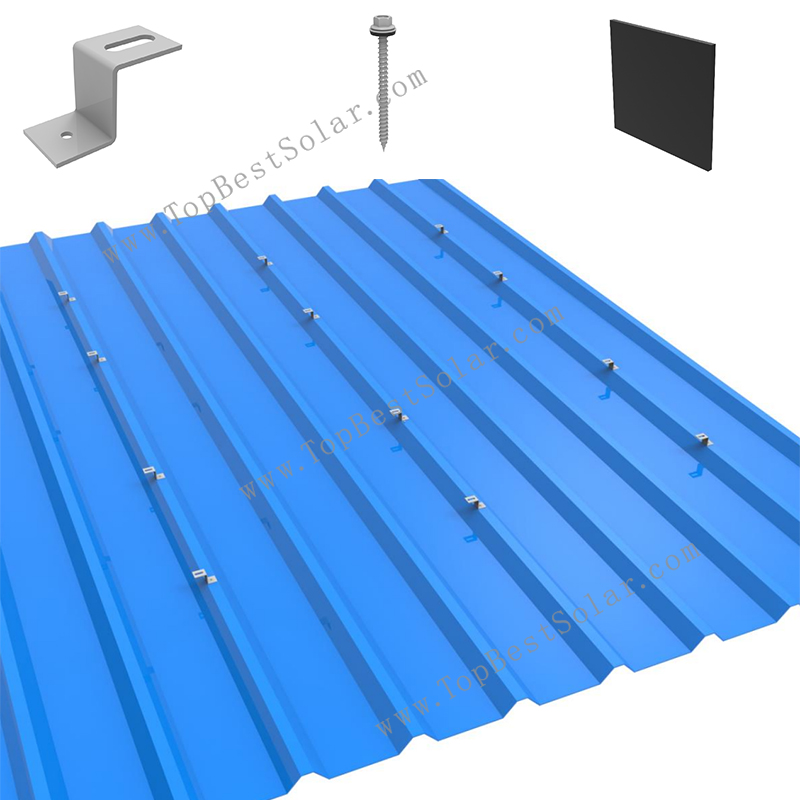
2. Locate Z bracket mounting points according to the drawing and secure them with screws.
3. Install the Z bracket and draw a horizontal reference line to ensure the levelness.
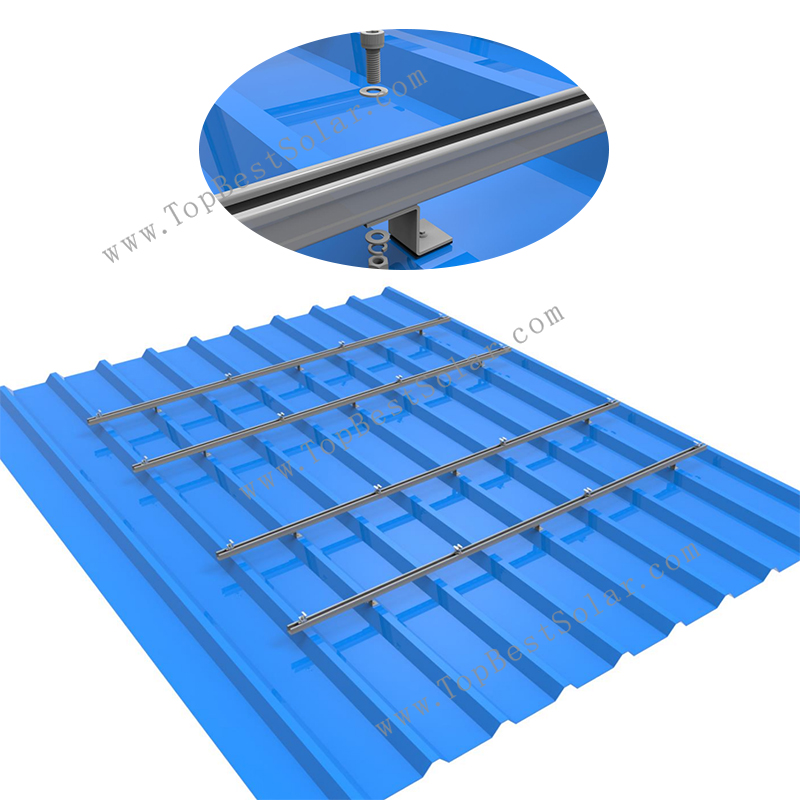
4. Fix therail using M10*25 bolts and other fasteners.
5. Install other rails.
6. When the rails need to be joined, they should be fixed by using rail connectors.
7. Place mid clamp and end clamp on the rail.
8. Tighten the bolts to secure the solar panels and complete the installation.
- Description
-
Product Description:
Our Z solar racking for metal roof is a universal, cost-effective, and durable mounting solution specially engineered for trapezoidal metal rooftop solar installations.
Advantages of Z solar racking for metal roof:
1) Easy to install on trapezoidal metal roof, save time and reduce costs.
2) Compatible with all standard solar modules.
3) The steel material has excellent anti-corrosion properties and a long service life.Components of Z solar racking for metal roof:
1. Z Bracket >>solar-panel-mounting-bracket-z-bracket
2. Mid clamp
3. Dual-use End Clamp (It can be applied to solar panels with a thickness of 30mm and 35mm)>>solar-end-clamp-dual-purpose-30-35mm
4. U Rail
5. Rail Connector
6. Bolts and NutsThis Z bracket mounting kit simplifies residential, commercial, and large scale solar panel installation, perfectly compatible with trapezoidal metal roofs. It serves as an ideal flush-mount solar racking accessory for all standard solar panels, delivering stable, leak-proof, and long-lasting rooftop solar fixation performance.
Welcome to visit our website to learn more details>>topbestsolar.com
- Installation Instruction
-
Proper installation of Solar Racking for Metal Roof – Z Racking System requires the following professional tools to guarantee structural safety and installation accuracy:
Marker Pen
Wrench
Allen Key Wrench
Electric Screwdriver Wrench
Tape Measure
Line of Reference
Cutting Machine
Laser Rangefinder
Here are the installation steps for Solar Racking for Metal Roof – Z Racking System:
1. Pre-assembled mid clamp and end clamp.
The end clamp has two holes, which can be used to install two different height panels (30 mm and 35 mm)
2. Locate Z bracket mounting points according to the drawing and secure them with screws.
3. Install the Z bracket and draw a horizontal reference line to ensure the levelness.
4. Fix therail using M10*25 bolts and other fasteners.
5. Install other rails.
6. When the rails need to be joined, they should be fixed by using rail connectors.
7. Place mid clamp and end clamp on the rail.
8. Tighten the bolts to secure the solar panels and complete the installation.
- Leave Message
-